Overview
As an Administrator with the Manage Registration & Certification role, you can access the Registration and Certification grid and view the Assessment details and Assessment history for each qualification.
You can also add new assessment records and edit or delete existing ones.
Prerequisites
In order for an assessment to be trackable, you have to be tracking the Qualification within the
Qualification token.
On the Programme template, navigate to the Qualification token. Ensure that you have added the relevant qualification here.
Additionally, ensure that the following qualification settings are set correctly:
- Internally assessed/externally assessed
- Unit level or qualification level or outcome level
Once you have added the relevant qualification, new learners who are then applied to the programme will be given those properties. The qualification will appear on their learner record, and tutors/administrators can then add detail to the assessments.
The Assessments grid
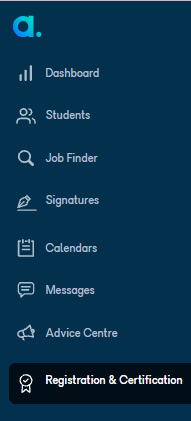
Click Registration and Certification on the left navigation bar. You can see this option when you have the Manage Registration & Certification role.
The Registration and Certification screen is displayed. Navigate to Assessments.
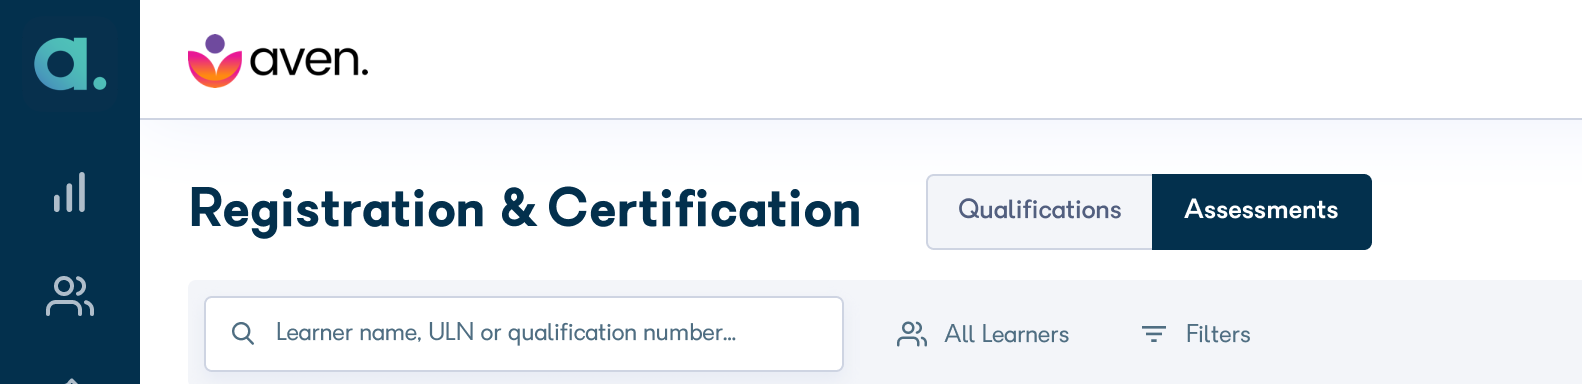
The assessments central interface consists of a grid showing details of the assessment records. This information is arranged in the following columns:
-
Learner/Programme
-
ULN
-
Qualification Name/Awarding Organisation
-
Qualification Number
-
Registration Date/Number
-
Assessment Date
-
Assessment Status
-
Result
-
Grade
You can see a maximum of 10 records per screen. To navigate through the list of records, you can:
- use the pagination controls at the bottom of the screen
- use sorting
- use the searching and filtering functionality
Sorting
The grid is ordered by the Date created column by default. To sort the records, click on the header row of any of the following columns: Learner/Programme, Qualification name, Qualification number, Registration Date, Assessment Date, Assessment Status, Status or Grade.
Sorting by clicking the Learner/Programme column will sort learners by their last name.

Searching and filtering
Search
You can use the search functionality to narrow down the list of assessments. Using the search box, you can search by:
-
Learner Name
-
Unique Learner Number
-
Qualification Number
-
Registration Number
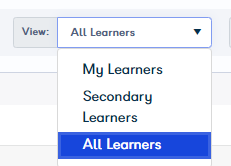
Filter by learner ownership
You can filter by learner ownership. You can choose from the following:
- My leaners: Shows the assessments for learners for whom you are the designated Tutor.
- Secondary learners: Shows assessments for learners for whom you are an activity owner. You must be the activity owner for at least one activity in the learner`s learning plan in order for the learner to appear in this list.
- All learners: Shows assessments for all learners that you have access to in the group structure. This option will only show if you have permission to view all learners within the group.
You can use the advanced filtering options to filter by a variety of criteria. To use advanced, filtering, click Filters on the top of the list of records.

The Advanced filters are displayed in a side bar on the right of your screen.
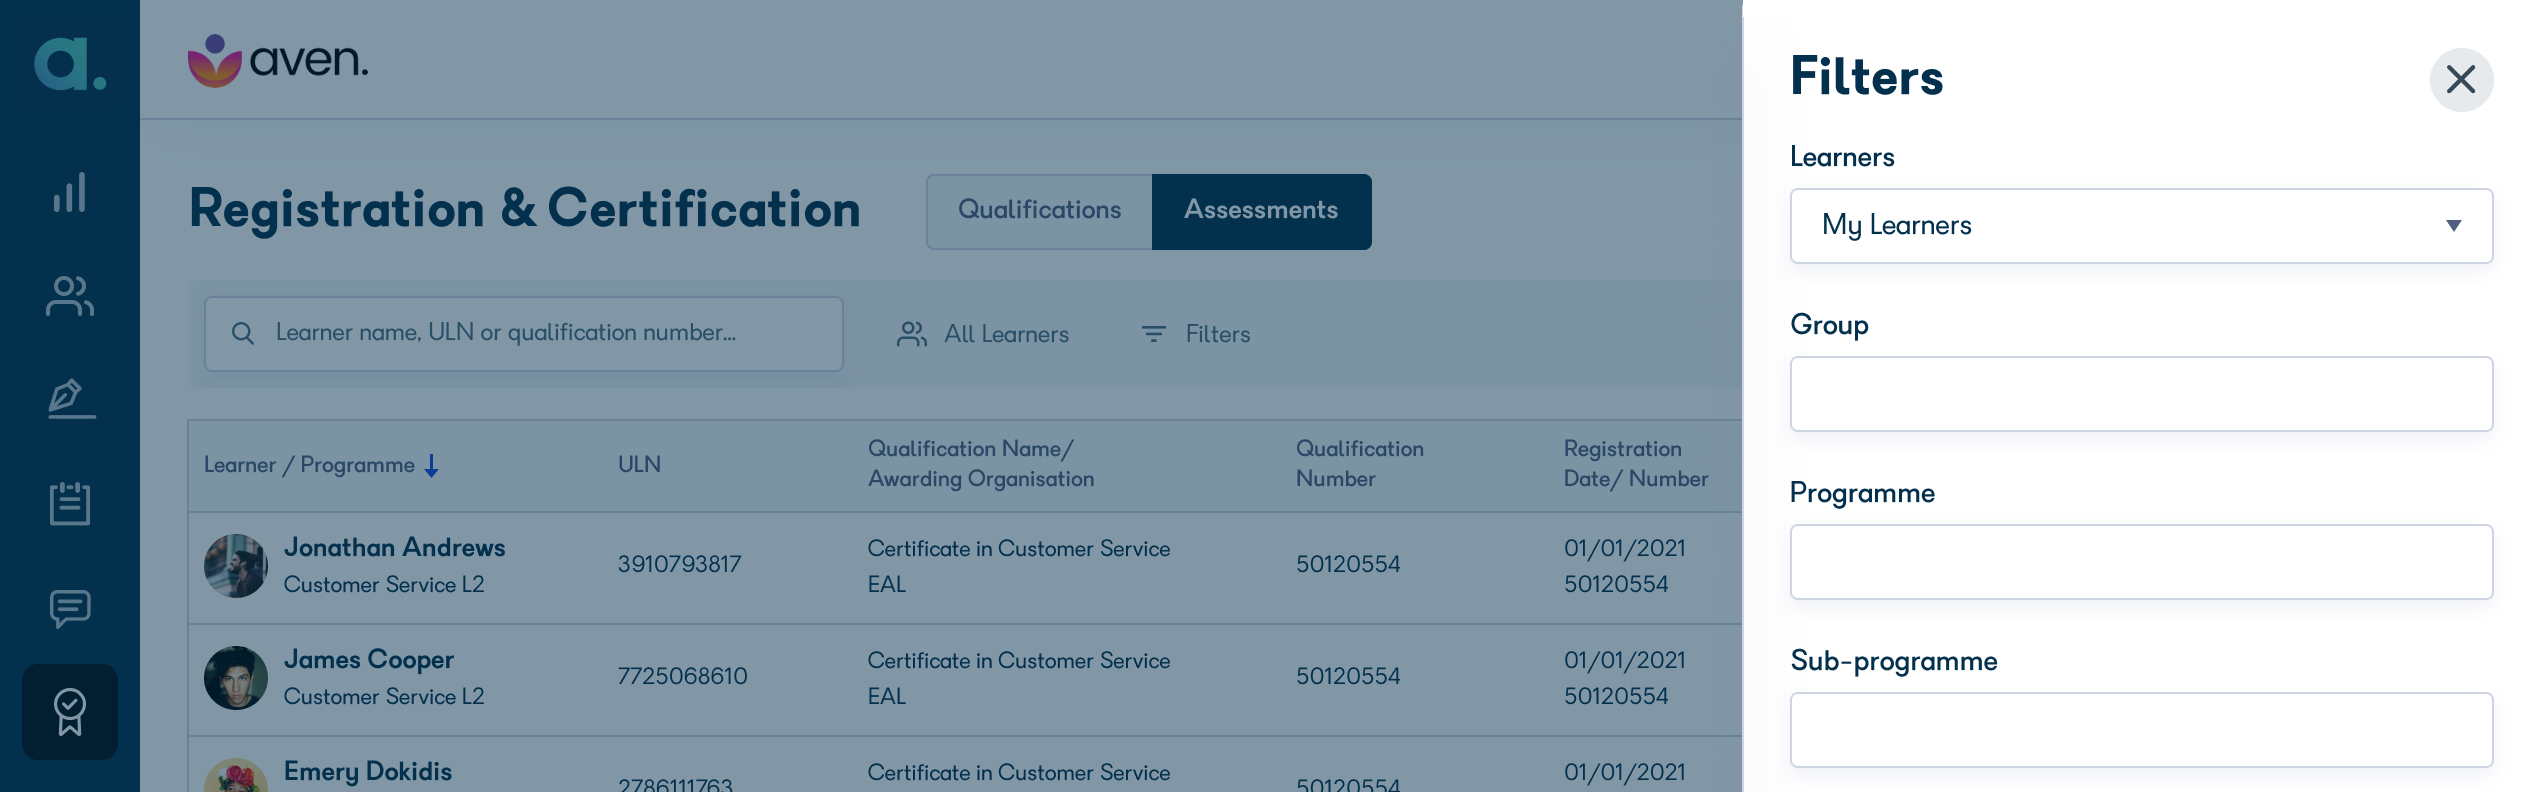
Advanced Filters
On the Filters sidebar, you can see the following filters:
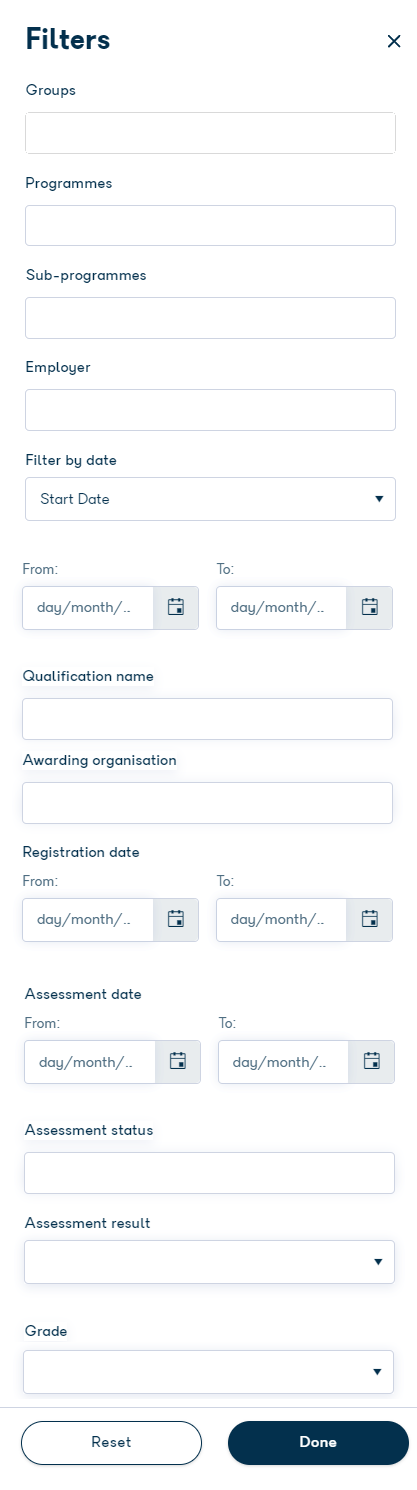
Filter by Learners
You can filter by learner ownership. This filter works like the quick filter described above.
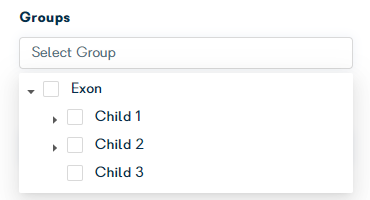
Filter by Groups
You can filter by the groups that you have been given access to by your organisation. If you have a multiple group hierarchy in your organisation, you can navigate through the levels and select the group you want to filter by.
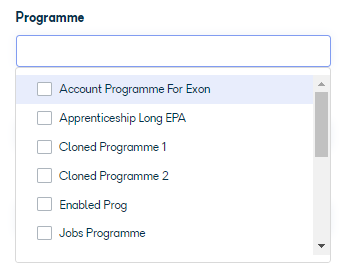
Filter by Programme
You can filter the assessments by programme. You can select one or multiple entries from the dropdown.
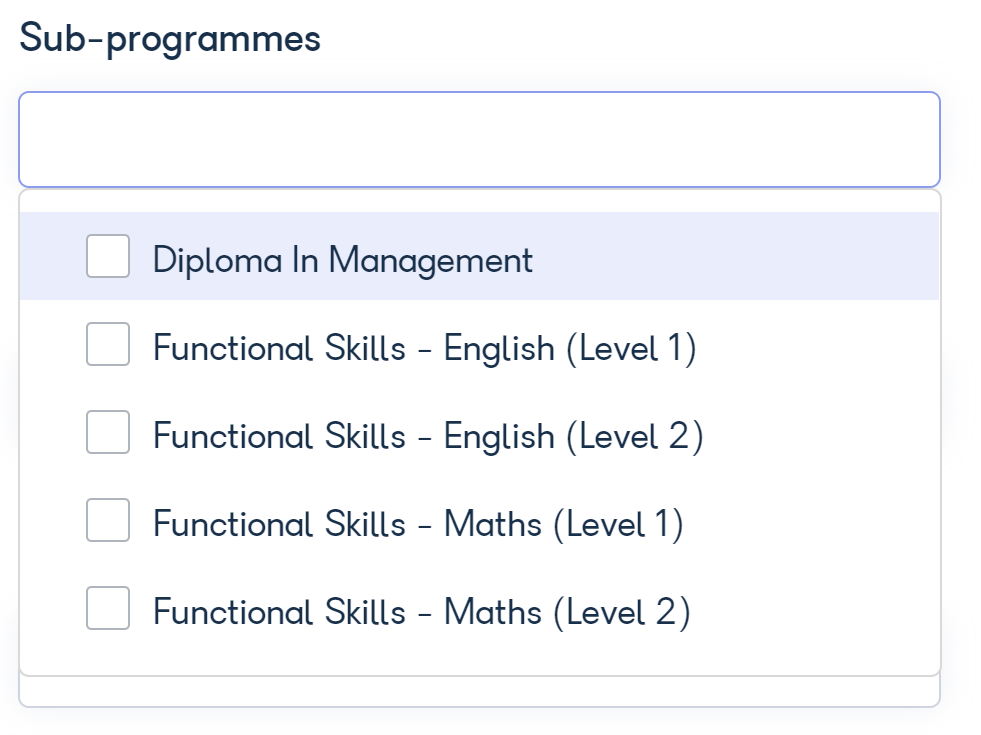
Filter by Sub-programme
You can filter the records by sub-programme. You can select one or multiple entries from the dropdown.
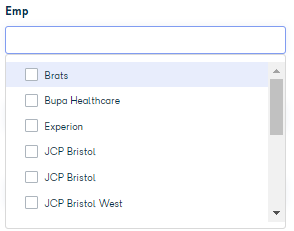
Filter by Employer
You can filter the list to a specific employer. You can select one or multiple entries from the dropdown.
Filter by Date
You can search by the start date, the practical period date, or the end date.
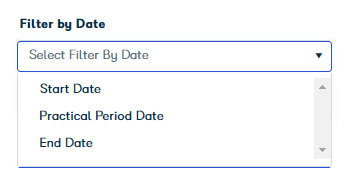
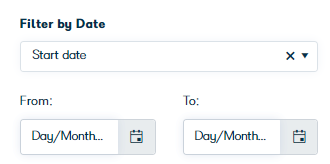
If you make a selection, you will be prompted to specify the date range.
The filter will then use the specified date range to narrow down the list of assessments.
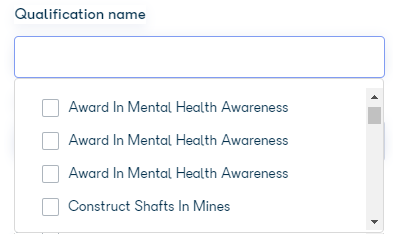
Filter by Qualification Name
You can filter the records by qualification name. You can select one or multiple entries from the dropdown.
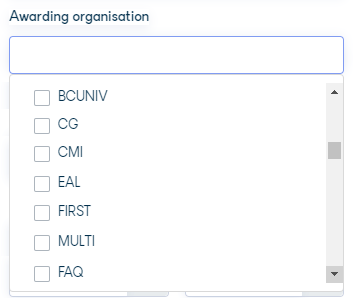
Filter by Awarding Organisation
You can filter the records by awarding organisation. You can select one or multiple entries from the dropdown.
Filter by Registration date and Assessment date
You can filter by the Registration date, and/or the Assessment date.
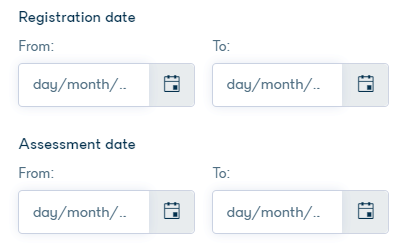
The filter will then use the specified date range to narrow down the list of assessments.
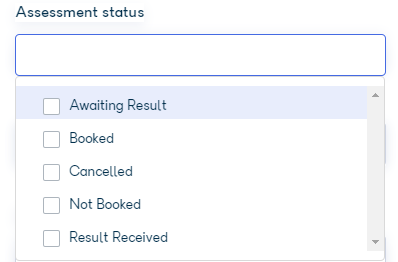
Filter by Assessment Status
You can filter the records by assessment status. You can select one or multiple entries from the dropdown.
Filter by Assessment result
You can filter the records by assessment result.

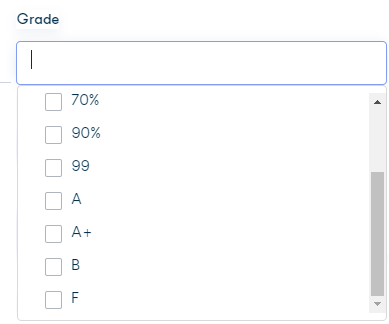
Filter by Grade
You can filter the records by grade. You can select one or multiple entries from the dropdown. The dropdown list contains grade values from all the existing assessments.
Click Done to apply the selected filters. The grid will be refreshed, to show a list of assessments based on the filters. You can remove individual filters, or you can reset all the filters to revert to your original view.
Edit an assessment record
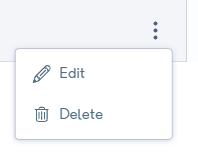
To edit an assessment record, click the options icon ⋮ on the far right, and click Edit.
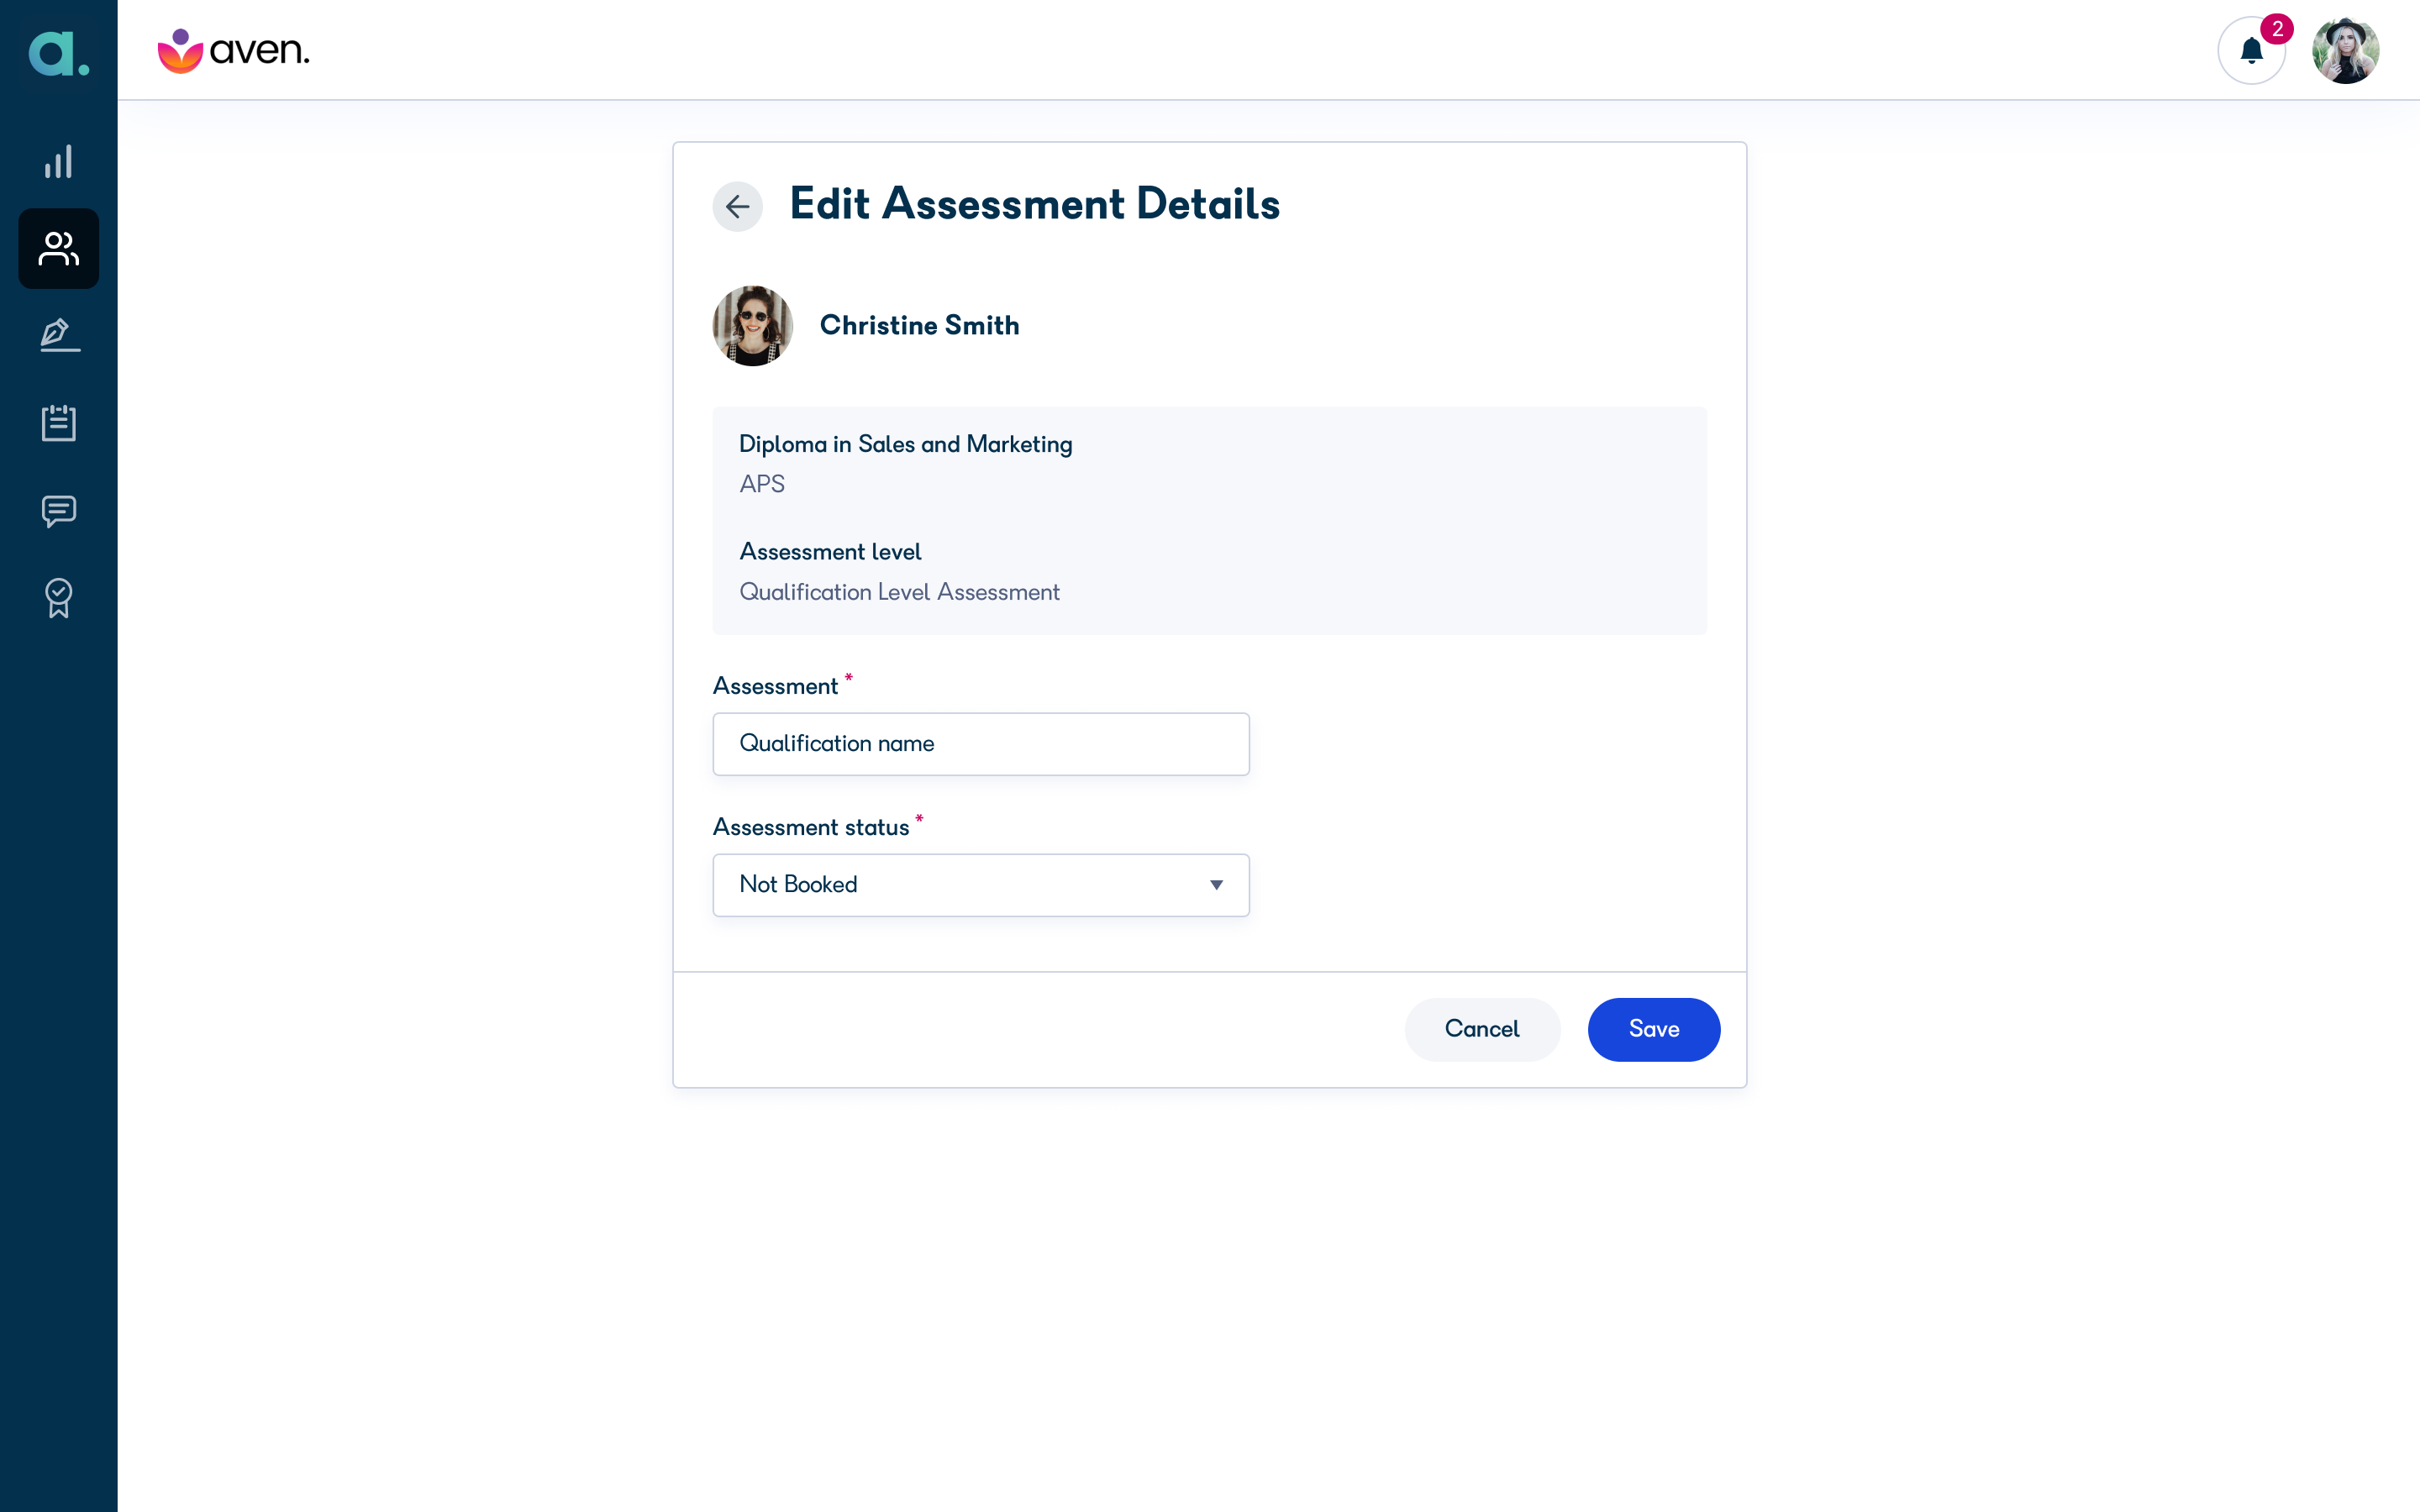
The Edit Assessment Details screen is displayed. Here, you can view the prepopulated Qualification and the Assessment level details. For unit level assessments, the unit name is also displayed. In case of outcome-level assessment qualification, you are presented with the outcome-level information, and the Assessment field is locked for edit. Only the Status and Date can be edited.
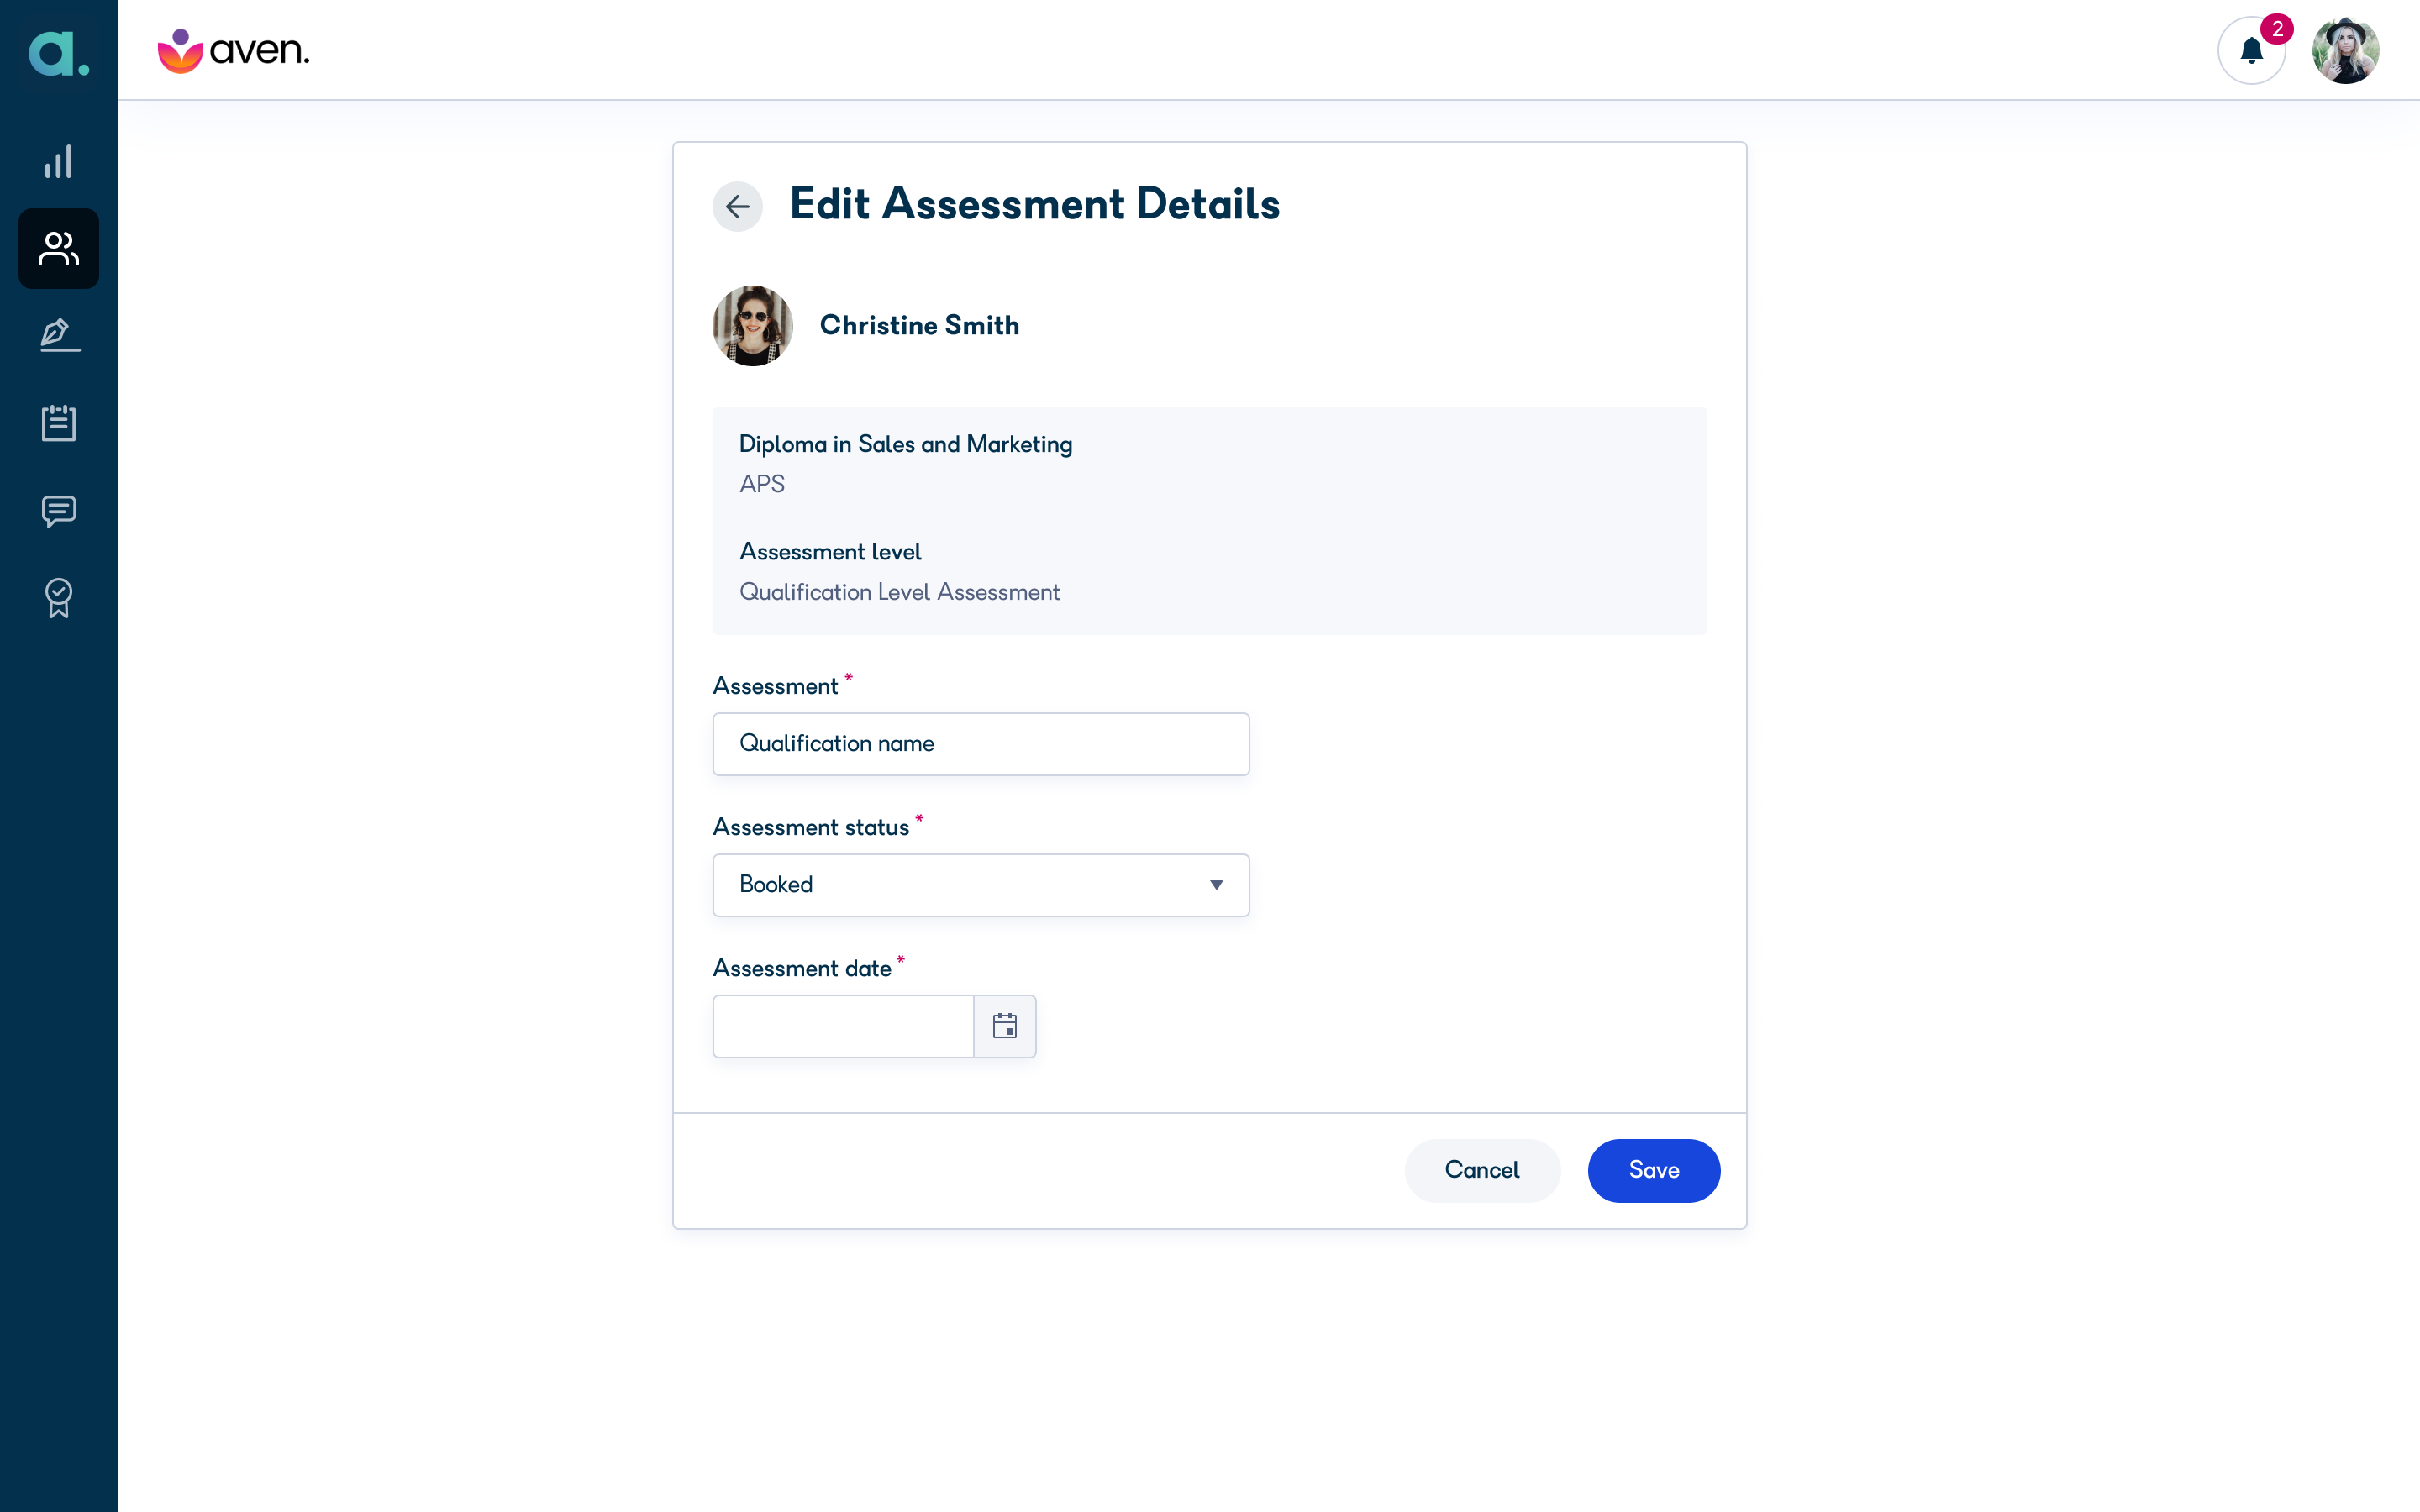
When you change the status, you will be presented with additional fields to complete.
If you select the Booked status, you must then enter the actual date when the assessment is going to be taken.
If you select the Awaiting Result status, you must enter the date of the assessment.
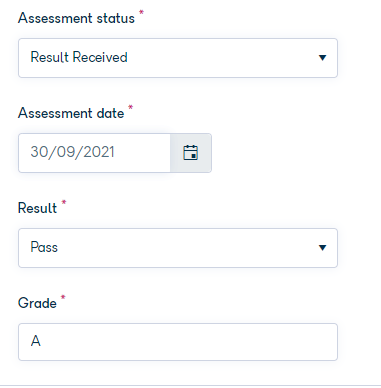
If you select the Result Received status, you must enter the date of the assessment, along with the Result and Grade.
After you enter the assessment record details, click Save.
Delete an assessment record
To delete an assessment record, click the options icon ⋮ on the far right, and click Delete.
A warning message is displayed. Click Delete to delete the assessment.
Add an Assessment record
As a Tutor, you can record the details of an assessment, so that you can track a learner's status against the qualification. You can add an assessment record via the Assessments grid, or via the learner profile.
To add an assessment record using the Assessments grid, click +Add Assessment Details on the top right of your screen.

The Add Assessment Details screen is displayed. Select the name of the learner from the dropdown list.
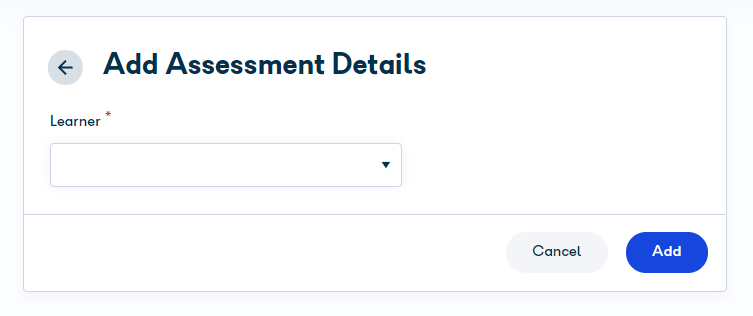
Then, select the Qualification from the dropdown list. This list contains the qualifications that are assigned to the selected learner.
Once you enter a qualification, fields relevant to that qualification are displayed. For example, if it is a unit level assessment, you can then specify the unit for assessment, using the searchable dropdown. If it is an outcome level assessment, outcomes will be displayed in the dropdown list.
Set an Assessment Status from the dropdown list. You can choose from the following:
- Not Booked (default)
- Booked
- Cancelled
- Awaiting Result
- Result Received
When you first create an assessment record, you can only set a status of "Not Booked". When editing an existing Assessment record, you cannot set a status of "Not Booked". You can choose the "Cancelled" status only when the current status is "Booked".
When you change the status, you will be presented with additional fields to complete.
If you select the Booked status, you must then enter the actual date when the assessment is going to be taken.
If you select the Awaiting Result status, you must enter the date of the assessment.
If you select the Result Received status, you must enter the date of the assessment, along with the Result and Grade.
After you enter the assessment record details, click Save to add the assessment record.